A grade 1 wrist sprain involves microscopic tearing of ligament fibers without significant stretching or joint instability. The ligaments remain intact and functional, distinguishing this injury from more severe sprains where ligaments stretch (grade 2) or completely tear (grade 3). Recovery typically takes 2-4 weeks with proper management, though returning to high-demand activities may require additional time.
Wrist ligaments connect the eight carpal bones to each other and to the forearm bones (radius and ulna). The scapholunate ligament, connecting the scaphoid and lunate bones, accounts for the majority of wrist sprains. Other commonly affected ligaments include the lunotriquetral ligament and the triangular fibrocartilage complex (TFCC). Grade 1 sprains preserve ligament continuity while causing inflammation and localized pain.
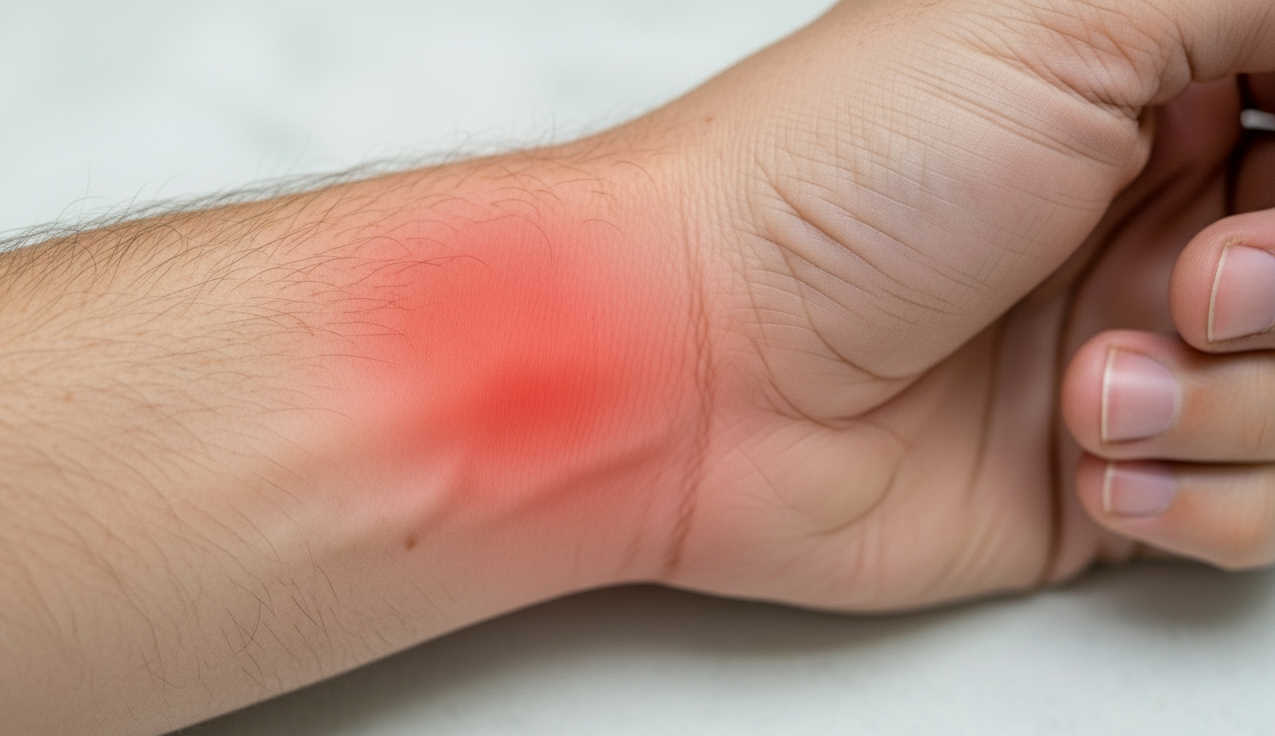
Identifying Grade 1 Wrist Sprain Symptoms
Grade 1 wrist sprains present with pain that worsens during wrist movement, particularly with rotation or weight-bearing activities. The pain typically localizes to one area rather than spreading throughout the entire wrist. Patients maintain full range of motion, though movements may be uncomfortable. The wrist remains stable during stress testing, with no sensation of giving way or clicking.
Swelling develops within hours of injury but remains mild compared to higher-grade sprains. The swelling concentrates around the injured ligament rather than involving the entire wrist circumference. Ice application and elevation control swelling effectively in grade 1 injuries, with visible improvement within 24-48 hours.
Bruising appears infrequently in grade 1 sprains and remains minimal when present. Any bruising typically surfaces 2-3 days after injury and appears as light discoloration rather than deep purple or black marks. Extensive bruising suggests a more severe injury requiring medical evaluation.
Tenderness occurs directly over the injured ligament when pressed. The dorsal (back) aspect of the wrist shows tenderness more commonly than the palmar (palm) side. Specific points of tenderness help clinicians identify which ligament sustained injury. The anatomical snuffbox, located at the base of the thumb, shows tenderness when the scapholunate ligament is involved.
Physical Examination and Diagnosis
Clinical examination begins with inspection for deformity, swelling patterns, and skin changes. Grade 1 sprains show no visible deformity or abnormal wrist alignment. Palpation identifies the specific point of maximum tenderness, guiding further assessment.
Range of motion testing reveals full movement capability with pain at end ranges. Flexion and extension typically reach 60-80 degrees and 60-70 degrees respectively. Radial and ulnar deviation achieve 20 degrees and 30 degrees. These measurements match the uninjured side, though discomfort occurs during testing.
Special tests help differentiate grade 1 sprains from more severe injuries:
Watson’s Test assesses scapholunate ligament integrity. The examiner applies pressure to the scaphoid tubercle while moving the wrist from ulnar to radial deviation. A positive test produces pain without the clunk associated with ligament disruption.
Lunotriquetral Shear Test evaluates the lunotriquetral ligament. The examiner stabilizes the lunate while applying force to the triquetrum. Pain without instability suggests grade 1 injury.
TFCC Load Test involves ulnar deviation with axial compression. Reproduction of ulnar-sided pain indicates possible TFCC involvement.
Grip strength testing using a dynamometer shows mild reduction compared to the uninjured side. Grade 1 sprains typically maintain 75-90% of normal grip strength. Greater weakness suggests more extensive injury.
Imaging Considerations
X-rays rule out fractures but appear normal in grade 1 sprains. Standard views include posteroanterior, lateral, and oblique projections. Clenched fist views may reveal subtle widening between carpal bones in higher-grade injuries but remain normal in grade 1 sprains.
MRI provides detailed soft tissue visualization but rarely changes management for suspected grade 1 sprains. The decision to obtain advanced MRI imaging depends on clinical findings and response to initial treatment. Persistent symptoms beyond 4 weeks or worsening pain warrant MRI consideration.
MRI also offers dynamic ligament assessment in experienced hands. The modality visualizes ligament continuity and detects fluid collections around injured structures. Grade 1 sprains show intact ligaments with mild surrounding edema.
Initial Treatment Protocol
The PRICE protocol (Protection, Rest, Ice, Compression, Elevation) forms the foundation of acute management. Protection involves avoiding activities that stress the injured ligament while maintaining general wrist movement. Complete immobilization is unnecessary and may delay recovery.
Ice application for 15-20 minutes every 2-3 hours during the first 48 hours reduces inflammation. Place a thin cloth between ice and skin to prevent frostbite. Crushed ice or frozen peas conform better to wrist contours than rigid ice packs.
Compression using an elastic bandage controls swelling without restricting circulation. The bandage should feel snug but not cause numbness, tingling, or color changes in fingers. Remove and reapply the bandage every 4-6 hours to assess skin condition.
Elevation above heart level promotes fluid drainage and reduces swelling. Support the entire forearm rather than letting the wrist hang unsupported. Maintain elevation during sleep using pillows to prop the arm.
💡 Did You Know?
The wrist contains more bones than any other joint complex in the body, with eight carpal bones forming multiple articulations. This complexity allows the precise movements required for daily activities but also creates numerous potential sites for ligament injury.
Rehabilitation Exercises
Early mobilization prevents stiffness and maintains joint nutrition through synovial fluid circulation. Begin gentle range of motion exercises within 24-48 hours of injury, progressing as comfort allows.
Wrist Circles: Move the wrist in slow, controlled circles, 10 repetitions clockwise and counterclockwise. Perform 3-4 times daily. Keep movements small initially, gradually increasing circle size as symptoms improve.
Tendon Glides: Start with fingers extended and wrist neutral. Make a hook fist, then a full fist, then return to starting position. Complete 10 repetitions, 3-4 times daily. This exercise maintains tendon mobility without stressing ligaments.
Prayer Stretches: Place palms together in front of chest with elbows bent. Slowly lower hands while keeping palms together until feeling a gentle stretch. Hold 15-30 seconds, repeat 3-5 times.
Strengthening begins once acute pain resolves, typically after 5-7 days. Start with isometric exercises before progressing to resistance training.
Isometric Wrist Flexion: Place palm against the underside of a table. Push upward without moving the wrist. Hold 5 seconds, perform 10 repetitions.
Grip Strengthening: Squeeze a soft stress ball or therapy putty. Start with 10 repetitions, gradually increasing to 30. Progress from soft to firm resistance as strength improves.
Eccentric Strengthening: Hold a light weight (0.5-1 kg) with palm facing down. Use the uninjured hand to lift the weight, then slowly lower using only the injured side. Perform 2 sets of 10 repetitions.
Return to Activity Timeline
Week 1 focuses on pain control and gentle movement. Avoid lifting, gripping, or weight-bearing through the affected wrist. Continue daily activities using the uninjured hand primarily.
Week 2 introduces light functional activities. Resume typing, writing, and light household tasks. Wear a supportive brace during activities if needed. Monitor for increased pain or swelling after activity.
Weeks 3-4 allow gradual return to normal activities. Begin light sports-specific movements for athletes. Increase load progressively, stopping if sharp pain occurs. Full return to contact sports or heavy manual work may require 6-8 weeks.
⚠️ Important Note
Returning to activity too quickly increases re-injury risk and can lead to chronic instability. Progressive loading allows ligament remodeling and strengthening without overwhelming healing tissues.
Bracing and Support Options
Elastic bandages provide mild compression and proprioceptive feedback during the acute phase. Replace bandages that lose elasticity or become soiled. Remove bandages at night unless specifically instructed otherwise.
Wrist splints offer more substantial support for moderate activities. Choose splints that allow finger movement while limiting wrist motion. Cock-up splints position the wrist in slight extension, reducing strain on healing ligaments.
Athletic tape provides targeted support for specific activities. Proper taping technique limits harmful movements while allowing functional motion. Learn proper application from a healthcare provider or certified athletic trainer.
Custom thermoplastic splints may benefit patients with recurring sprains or occupational demands. These splints mold to individual anatomy and can be modified as healing progresses.
Complications and Warning Signs
Persistent pain beyond expected healing time suggests incomplete recovery or misdiagnosis. Grade 1 sprains showing no improvement after 2 weeks require reassessment. Occult fractures, particularly of the scaphoid bone, may present similarly to sprains initially.
Chronic instability develops when ligaments heal in a lengthened position. The wrist feels loose or gives way during activities. Clicking or popping sensations indicate possible cartilage involvement requiring specialist evaluation.
Complex regional pain syndrome (CRPS) rarely complicates wrist sprains but requires prompt recognition. Symptoms include burning pain disproportionate to injury severity, skin color changes, and temperature asymmetry between hands.
Commonly Asked Questions
How can I differentiate a grade 1 sprain from a fracture?
Fractures typically cause immediate, severe pain with visible deformity or inability to move the wrist. Point tenderness over bones rather than ligaments suggests fracture. X-rays definitively differentiate between these injuries, though some fractures (particularly scaphoid) may not appear immediately.
Can I continue working with a grade 1 wrist sprain?
Most desk-based work can continue with modifications. Use ergonomic supports, take frequent breaks, and avoid repetitive wrist movements. Manual laborers may require 2-3 weeks off or modified duties. Healthcare providers can provide specific work restrictions based on job demands.
Should I use heat or ice for my wrist sprain?
Ice remains appropriate for the first 48-72 hours to control inflammation. After this acute phase, alternating heat and ice may provide comfort. Heat before activity improves flexibility, while ice after activity controls inflammation.
Will my wrist be weaker after healing?
Proper rehabilitation restores normal strength and function. Completing prescribed exercises and gradually progressing activity levels prevents long-term weakness. Some patients experience mild discomfort with weather changes, but this doesn’t indicate weakness or incomplete healing.
Next Steps
Grade 1 wrist sprains respond well to conservative treatment when managed appropriately from onset. Following the PRICE protocol, beginning early mobilization, and progressing through structured rehabilitation ensures optimal recovery. Most patients return to full activities within 4 weeks, though individual healing varies based on age, overall health, and adherence to treatment protocols.
If you’re experiencing persistent wrist pain, instability, or limited function despite initial treatment, our hand specialist can provide comprehensive evaluation and personalized treatment plans.

Don't Let Hand Pain Affect Your Life
Restore Function and Improve Your Quality of Life
Our clinic provides a comprehensive, one-stop service for diagnosis and treatment.
Make An Enquiry